
Following on from our studies about aerodynamics we thought, after making all those parachutes that making a kite would be rather fun to do. I plan on making a couple of different designs so we can see which design flies better. But first we thought we'd start with making a Sled Kite.
There is plenty of maths involved with this science project and Children love it because it is, after all, making a kite and a kite is a toy!
We also had great fun flying it.

We also had great fun flying it.
- An old cereal box or card of a similar thickness
- Pencil
- Ruler
- Pen (we used a permanent marker)
- scissors
- dowelling or bamboo skewers
- A light carrier bag
- A bin bag
- Kite string
- Sticky tape
- Sanding paper
- A metre ruler
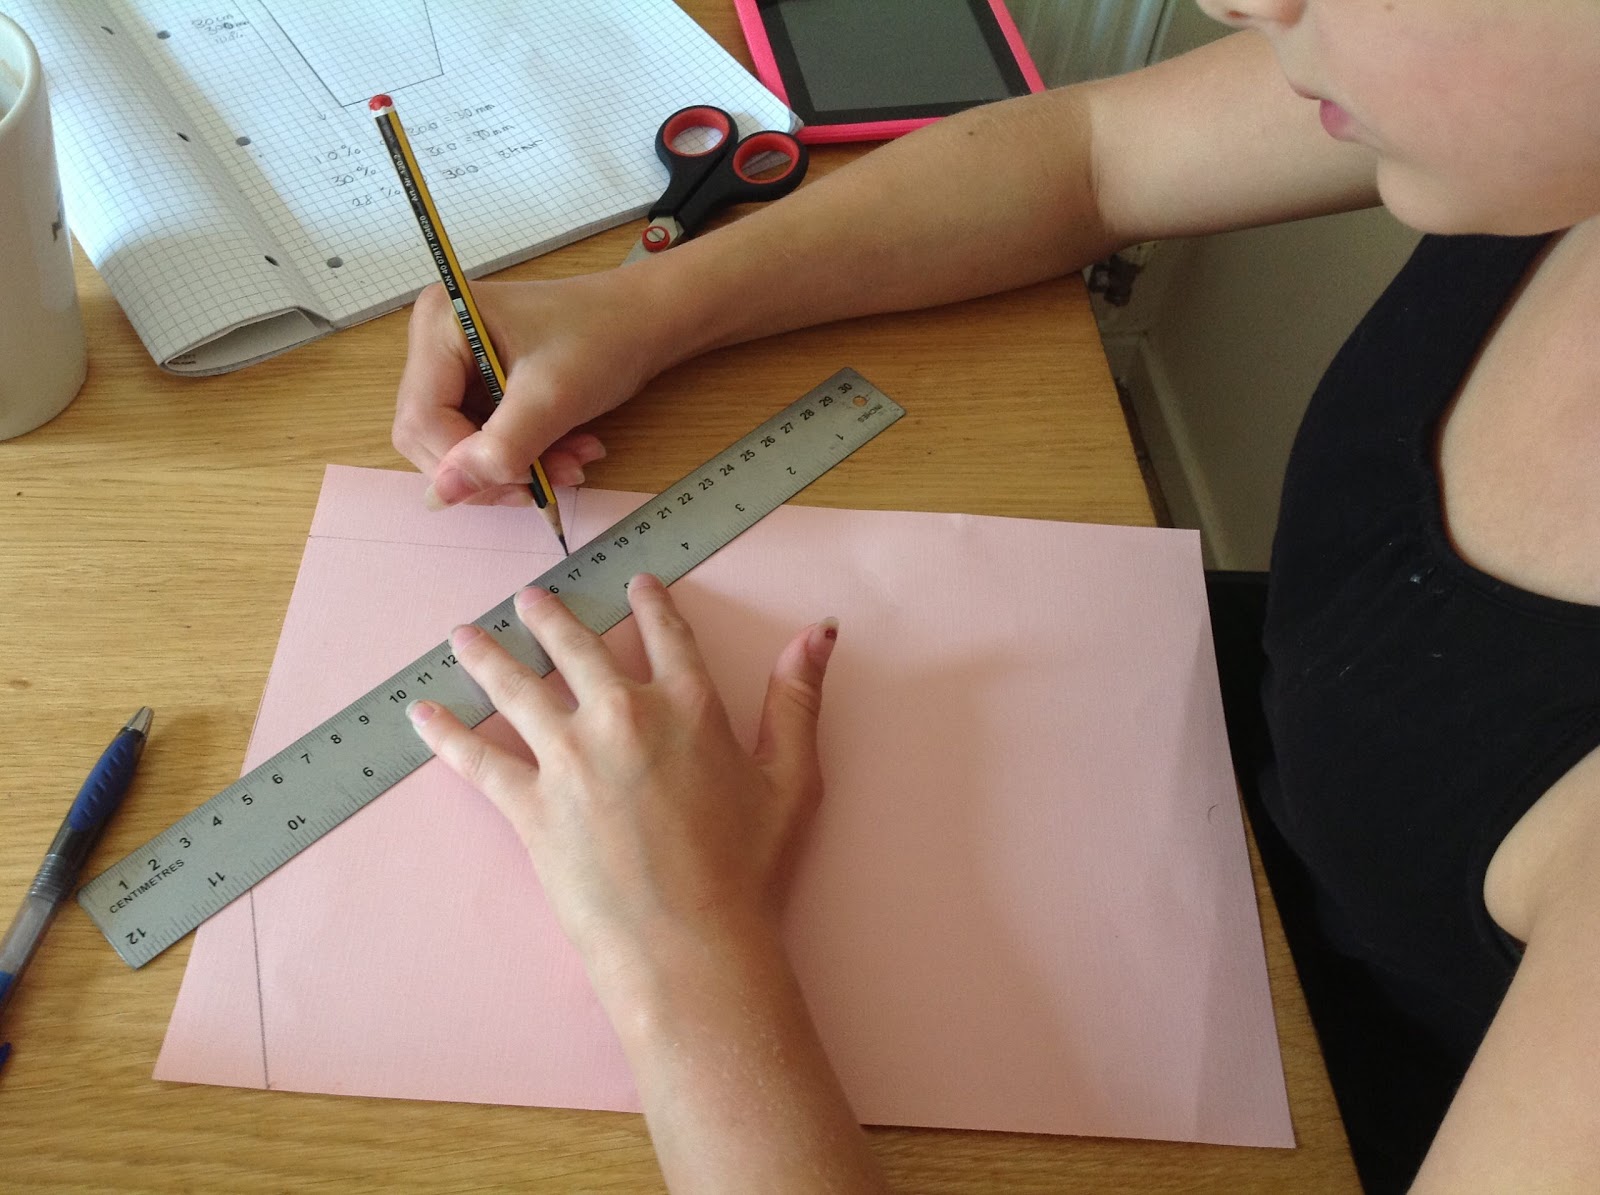
Step One
Making the sail. First you will need to make a template.
Making the sail. First you will need to make a template.

Step two
Carefully cut it out with some scissors.
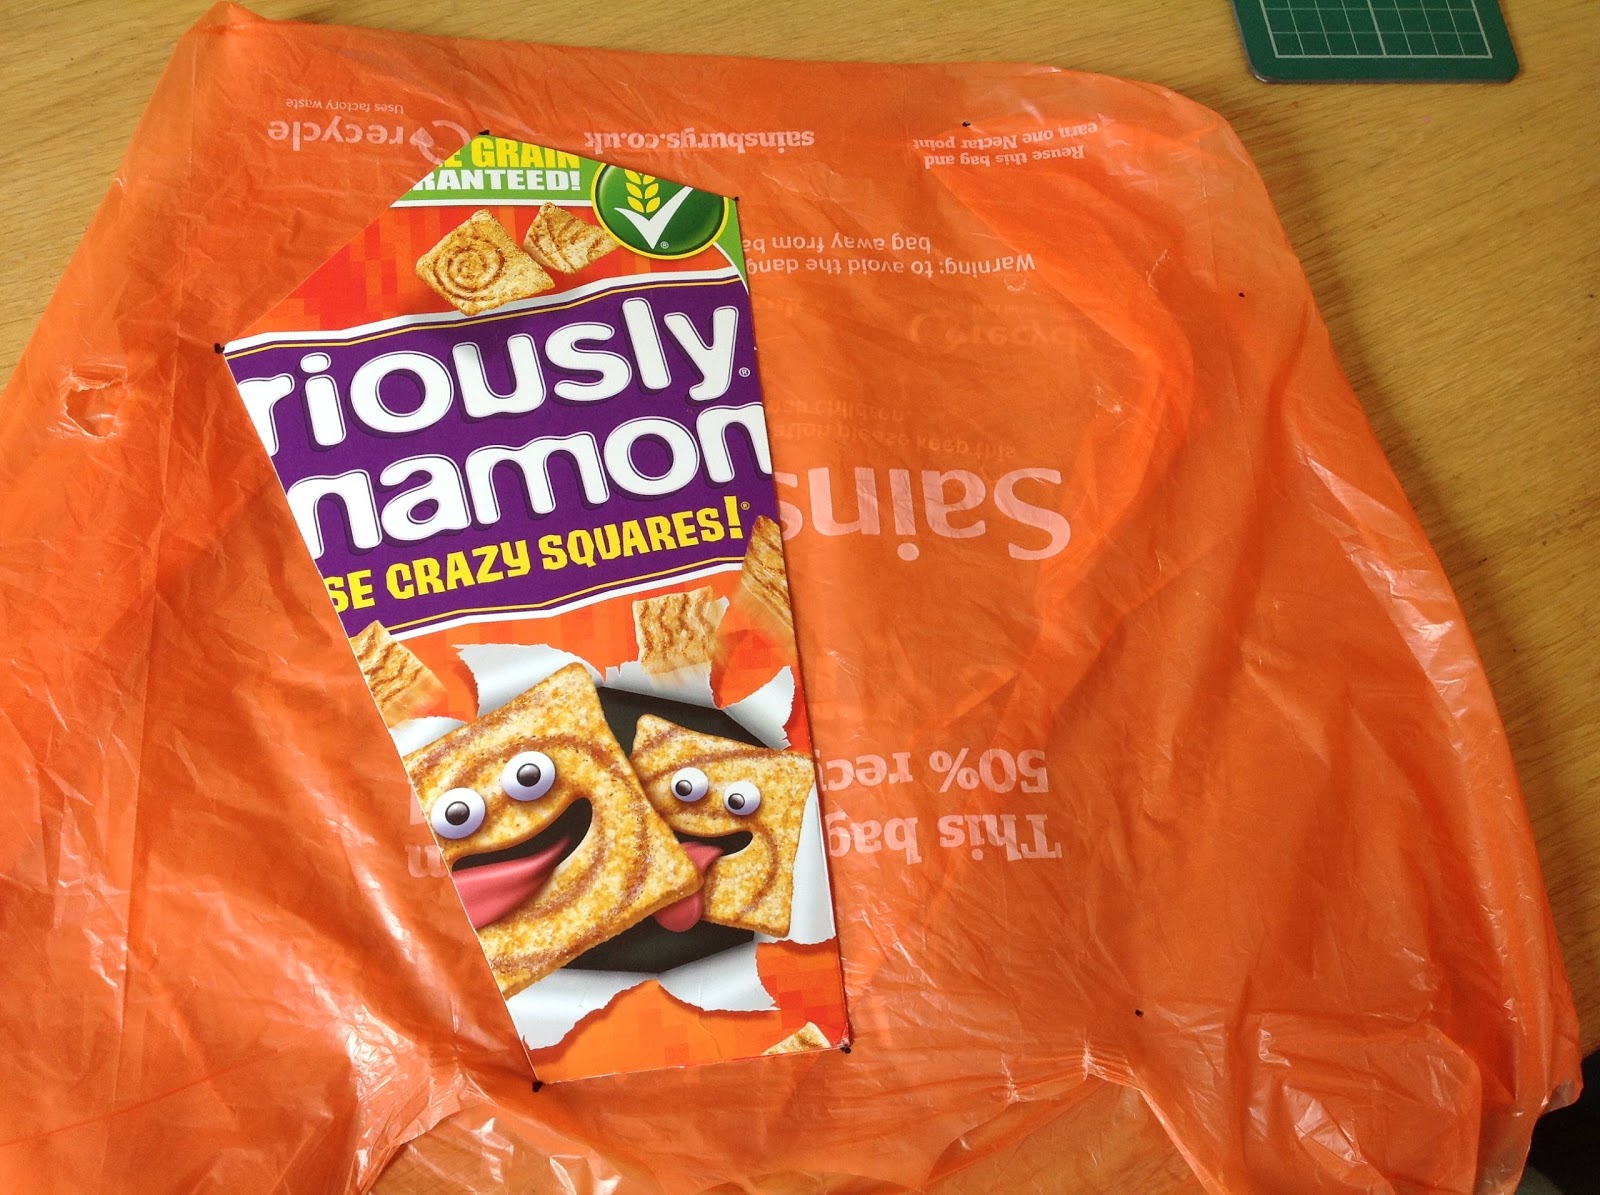
Step Three
Using your template and a pen, on a light plastic bag mark out each of the corners and then flip it over to make a symmetrical half like this...
And then, with a ruler, join up the dots carefully. We used a permanent marker for this part of the project.

Step Four
Carefully cut it out.

Step Five
Now to add the Spars...
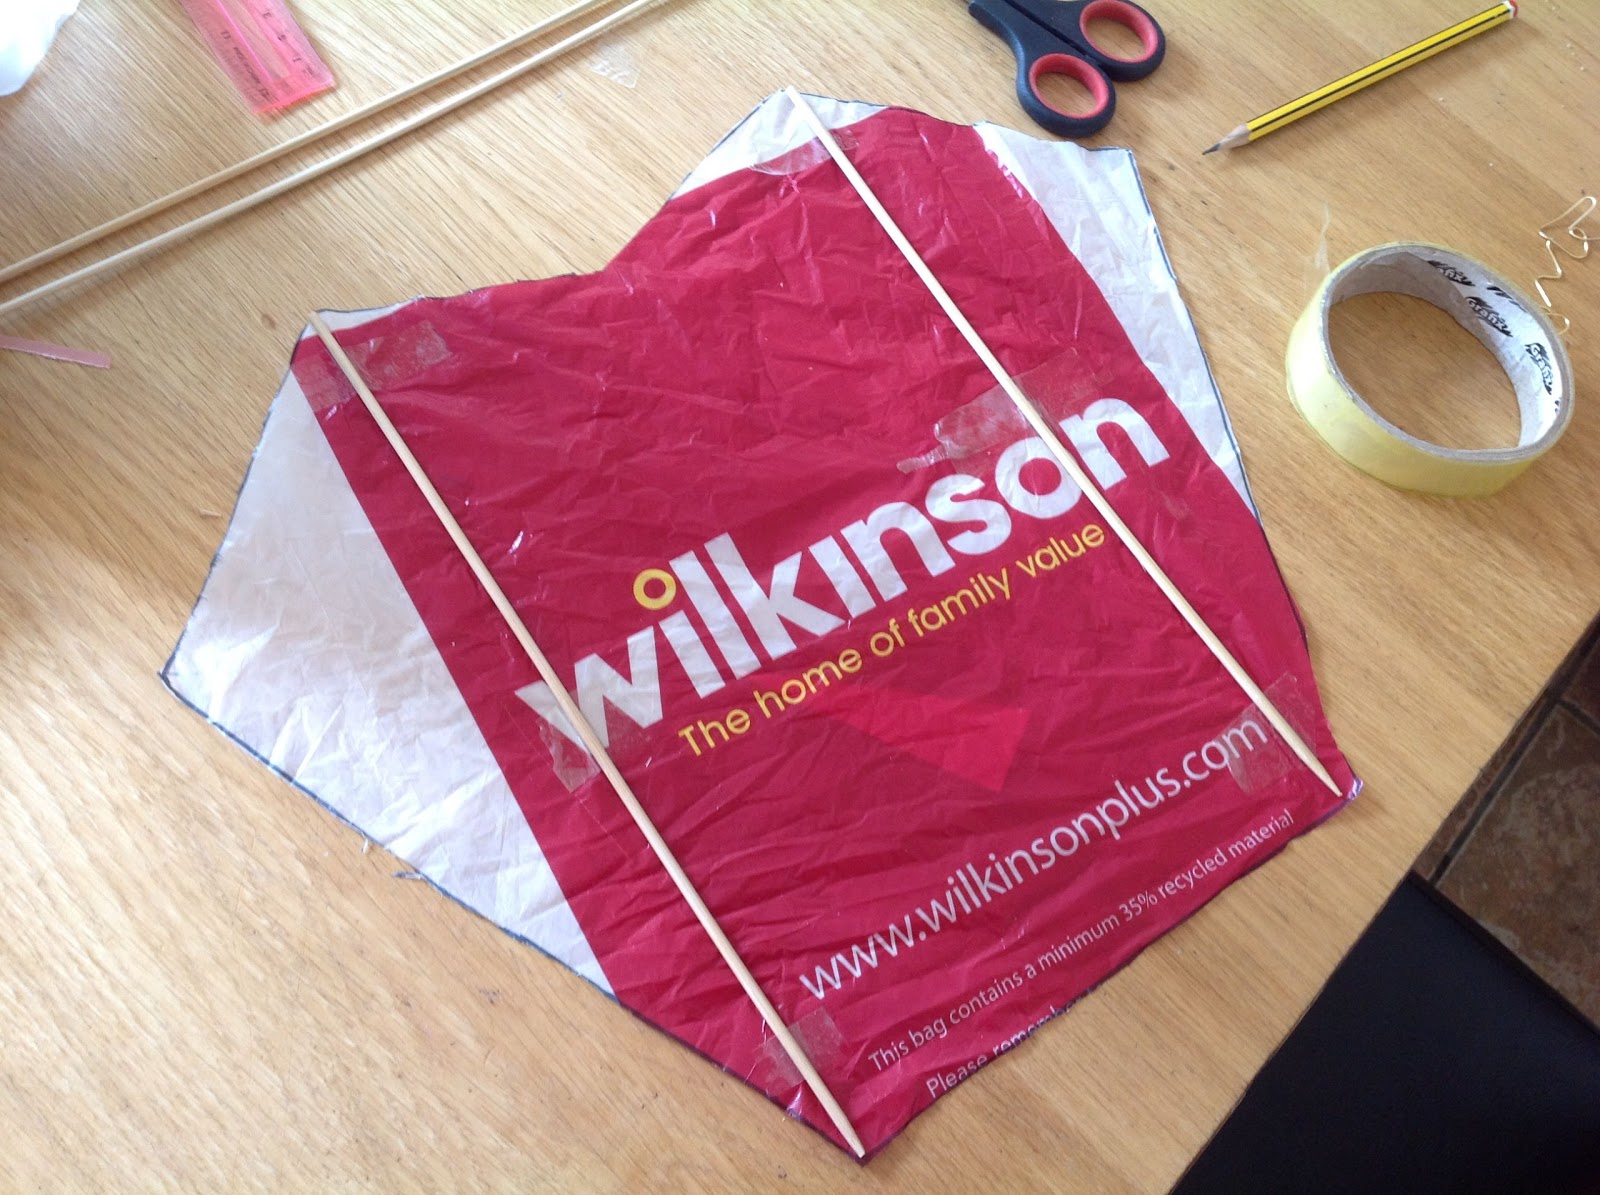
You can use thin dowelling but we used bamboo skewers for this one. We measured its length along the part of the kite we needed it to be before cutting it to size (cutting the sharp bits off) then sanding it down. Stick them down with sticky tape and then you are ready for the next step!
Step Six
Add the towing points. First get 3 pieces of sticky tape (ours were 7cm long each).
Stick the first piece on the left side point of your kite outwards, then turn the kite around and stick the second piece exactly on top of the last so there are no sticky bits to touch. The third piece is to strengthen the area and goes and a right angle to the first two pieces along the edge of the kite, so you have something like this...

Do the same to the corner of the kite opposite on the right hand side of the kite.
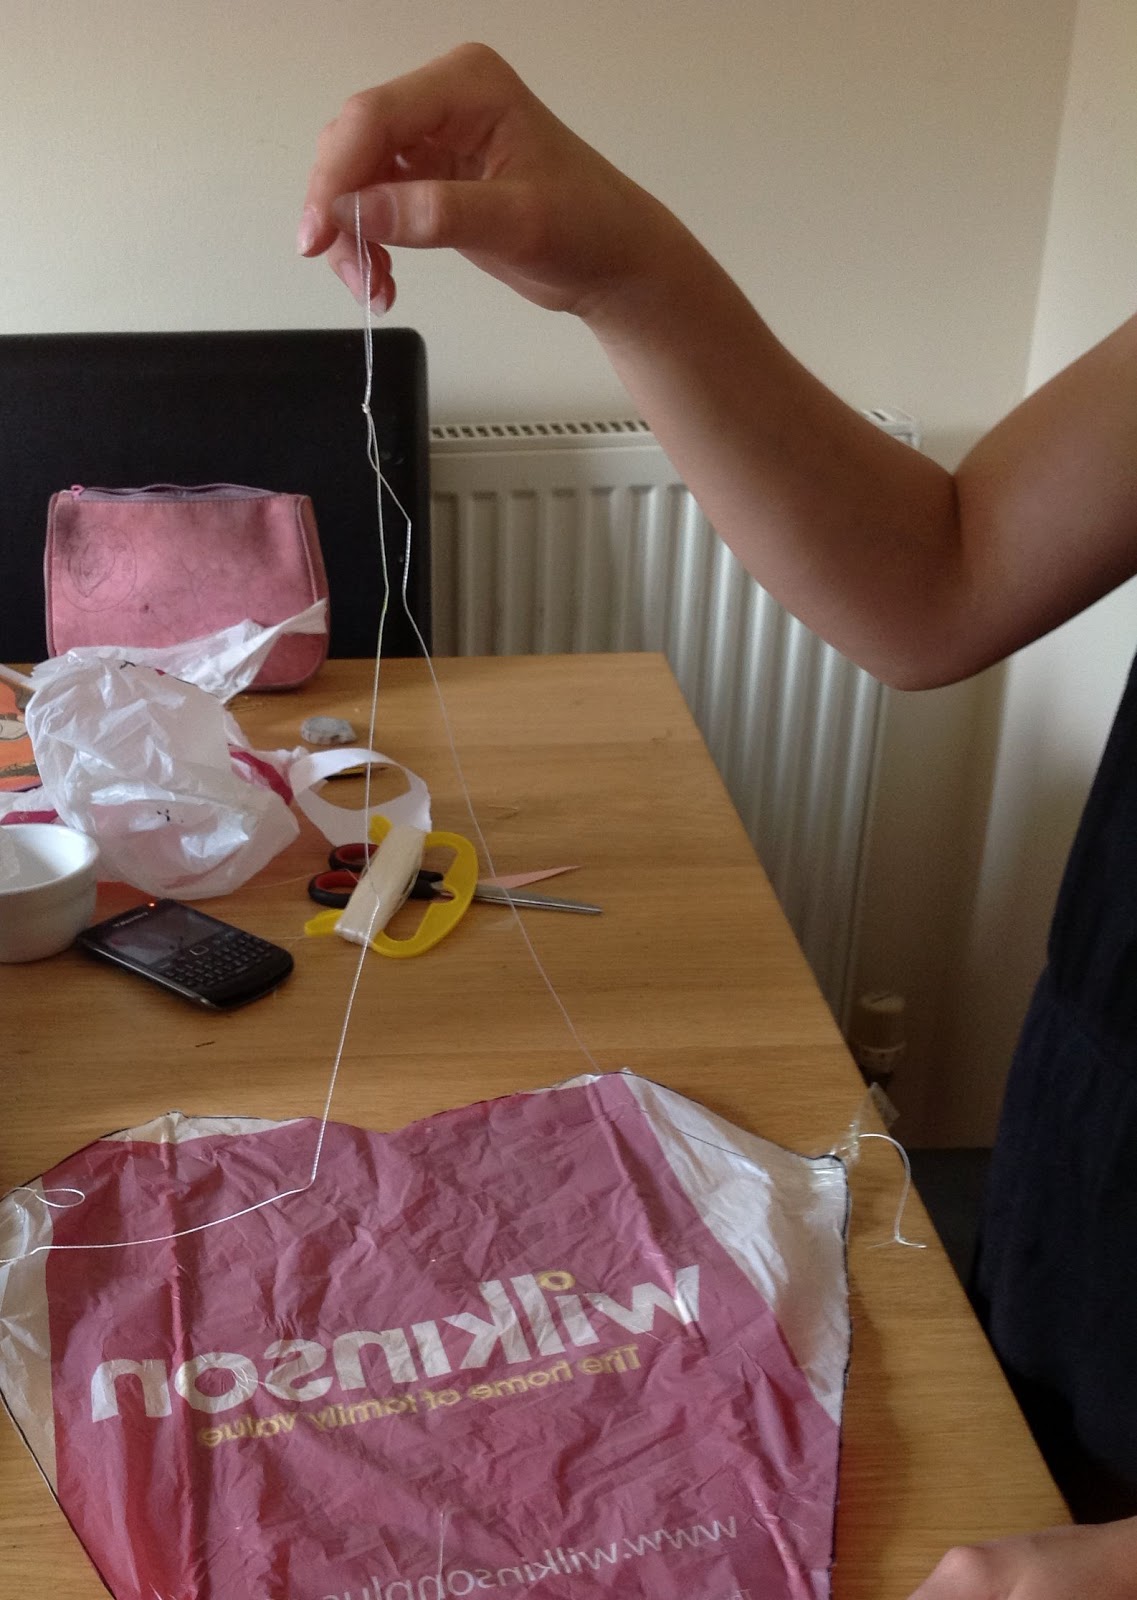
Step Seven
Make a bridle line for your kite: You will need to do a loop knot. First cut off 6 times the length of your kite in kite string. So for the template we done we had to do the sum 25cm x 6 = 150cm.
If you need to know how to make one I found this fabulous and easy to follow Youtube video here...
Make one of these loop knots at each end of your bridle string. then attach with double knots to the towing points.
Step Eight
When you have done this find the centre point of your bridle line (be careful with this precision is important to ensure your kite flies well) and put a loop in it like this...
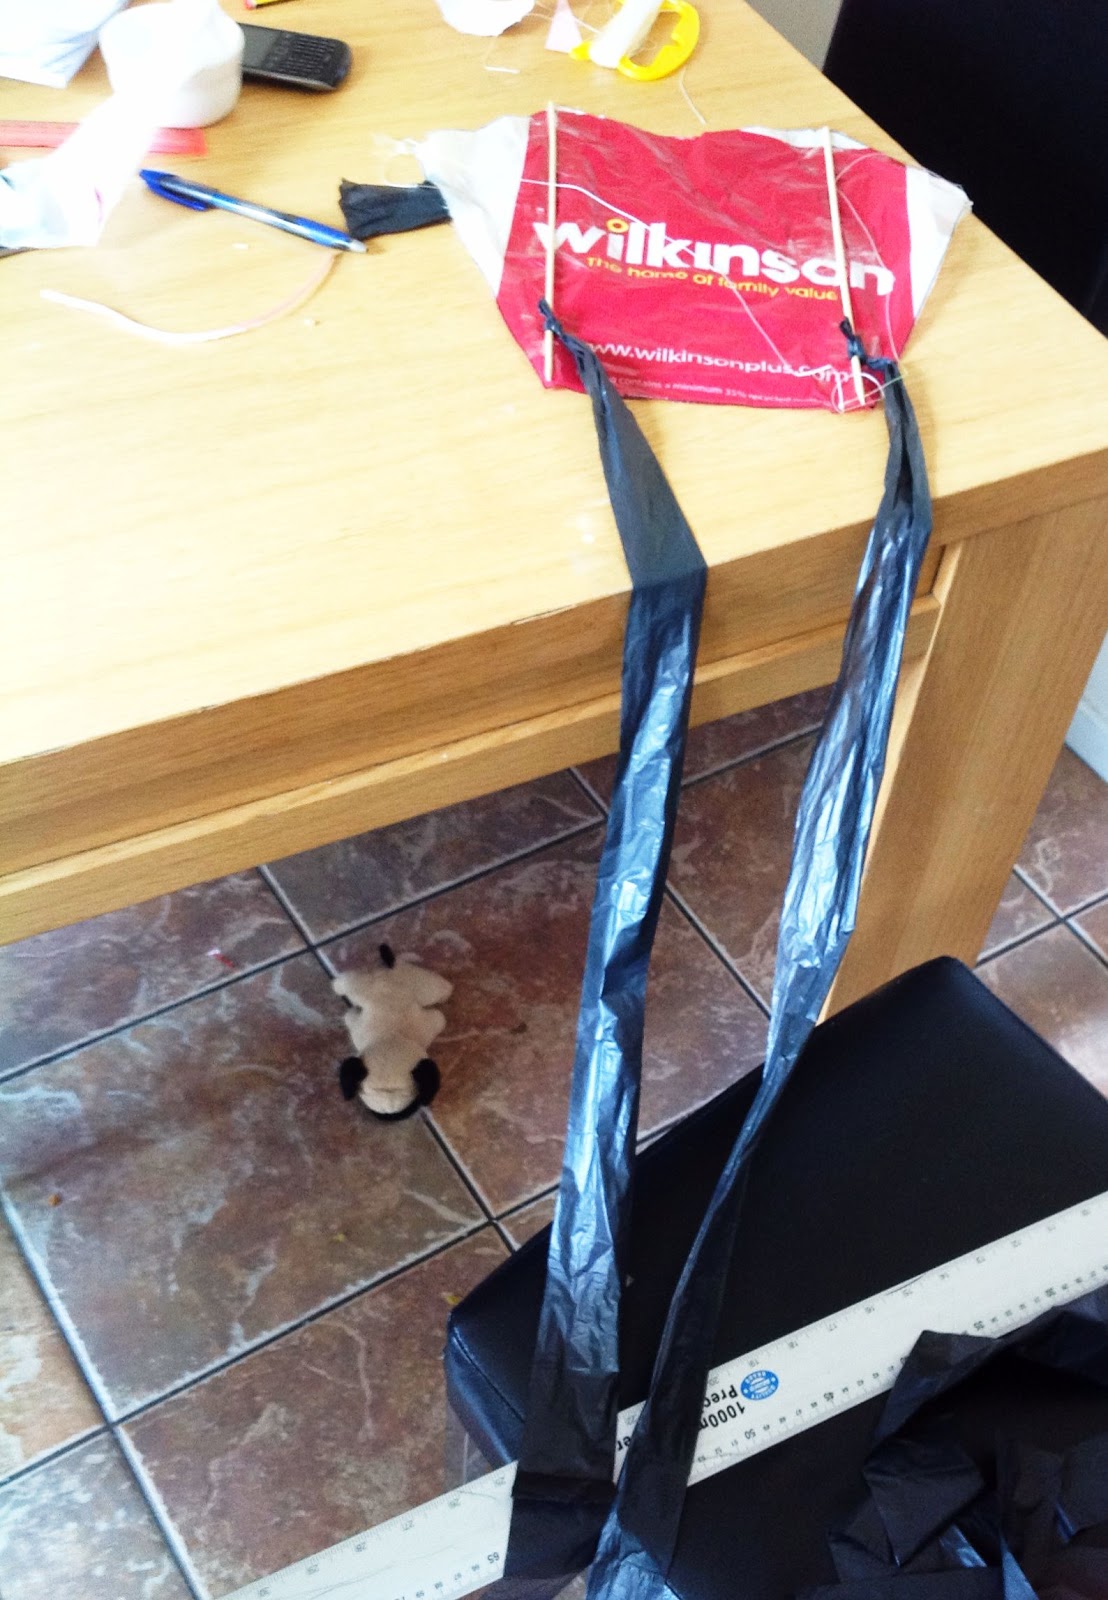
Now you need your kite tails. We used some black bin bags for this and made them a metre long each. We attached them using a regular double knot to the spars like this...
Step Ten
Your kite is made and all you have to do is tie the flight string (the bit attached to the handle) to the loop in the bridle. You might find a better way but we chose a regular double knot which worked really well for us.
THEN GO FLY YOUR KITE!
HOW DOES A KITE FLY?
As someone runs with a kite, the wind going head-on into the kite causes a lift force on it. This force is perpendicular (Perpendicular simply means 'at right angles') to the wind, pushing the kite up. At the same time, the force of drag pulls the kite back, in the direction that the wind is going and that is what makes your kite take off! If you want to know more read my post from last night: How does a kite fly?
Following on from this project
Does size matter? We tried making different sized kites to see which one flew better and discovered it wasn't so much about the size but you can experiment with that.
If you look at the photo below it should help you understand what I mean. The 25cm in our template you can use as your 100% mark. The two bits at the top and the line across the bottom bit (which is 7.5cm in the original template) is 30% of your 25cm (the 100% of your kite's height) and then you have 10% up the top left side and 28% up the top right side. Like this...

So what would the measurements be for a kite that is 30cm tall? What about 55cm tall? Try out different sizes of kites, does it make a difference to how well it flies?
Get a protractor out., does the angles of the kite change if we change the size of it or not?
Get a protractor out., does the angles of the kite change if we change the size of it or not?
- You could set a challenge to see if the size of the tail matters or if it is needed at all.
- Set a competition up (if the children are excited about it that is) to see who can make their kite fly the highest.
What are we learning?
- Investigating how things work.
- positition of motion and objects
- structure
- construction
- aerodynamics
- geometry (shapes)
- measuring
- calculation
- conversion
- percentages
- reverse percentages
- angles
- engineering - why precision is important.
KITE FACT I FOUND:
Did you know that, besides Ben Franklin, one of the most famous kite flyers of all time was a 10-year-old boy? His name was Homan Walsh, and without him the Niagara Falls Suspension Bridge may not have been built in 1847. Before construction could begin, someone needed to get a line across the Niagara River Gorge. Homan successfully flew a kite from one side of the gorge to the other over the treacherous rapids below and, after securing his kite string, heavier line was fed across until a steel cable could connect both shores and bridge construction could begin. Homan was rewarded with a $10 cash prize, which was a lot of money in 1847!
No comments:
Post a Comment